
How to Install Tech Upgrades in Your Vehicle
Installing technology upgrades in your vehicle can enhance your driving experience, offer greater convenience, and improve safety and functionality. Whether it’s adding a new infotainment system or smart security features, understanding how to approach these installations is crucial for achieving optimal results while maintaining your vehicle’s integrity. This guide walks you through key considerations and steps for successfully integrating tech upgrades, helping you navigate the process with confidence.
Assessing Your Vehicle’s Compatibility
01
Each vehicle comes with varying degrees of factory-installed technology, wiring configurations, and dashboard layouts. Begin by identifying the existing hardware and software components that your vehicle supports. Check your owner’s manual or consult your vehicle manufacturer’s website to clarify connections, power outputs, and any existing compatibility limitations. Recognizing the intricacies of your current setup helps you determine which upgrades are feasible and ensures you select devices that integrate seamlessly with your car’s infrastructure.
02
Once you understand your current vehicle systems, research the specific requirements for each tech upgrade you’re considering. This involves checking product specifications, recommended power sources, and space constraints. For example, dash cams may need constant power, while infotainment systems might require changes to your dashboard or wiring harness. Understanding these requirements minimizes the risk of purchasing incompatible devices and allows you to anticipate the steps or tools needed for installation.
03
Assessing the level of difficulty and technical expertise required for each upgrade is vital. Some tech enhancements, like phone mounts or Bluetooth adapters, are straightforward for a DIY approach. Others, such as advanced audio systems or integrated navigation units, may demand specialized knowledge and tools. Deciding between professional installation and a do-it-yourself method ensures both the safety of your vehicle and the satisfactory operation of the new technology.
Preparing for Installation
Start by choosing a clean, well-lit space where you can work without distraction. Gather all tools that you’ll need, which may include screwdrivers, wire strippers, electrical tape, and pry tools for removing panels. Ensuring you have everything at hand before you begin, including the owner’s manual and product instructions, streamlines the process and eliminates delays caused by searching for equipment mid-installation.

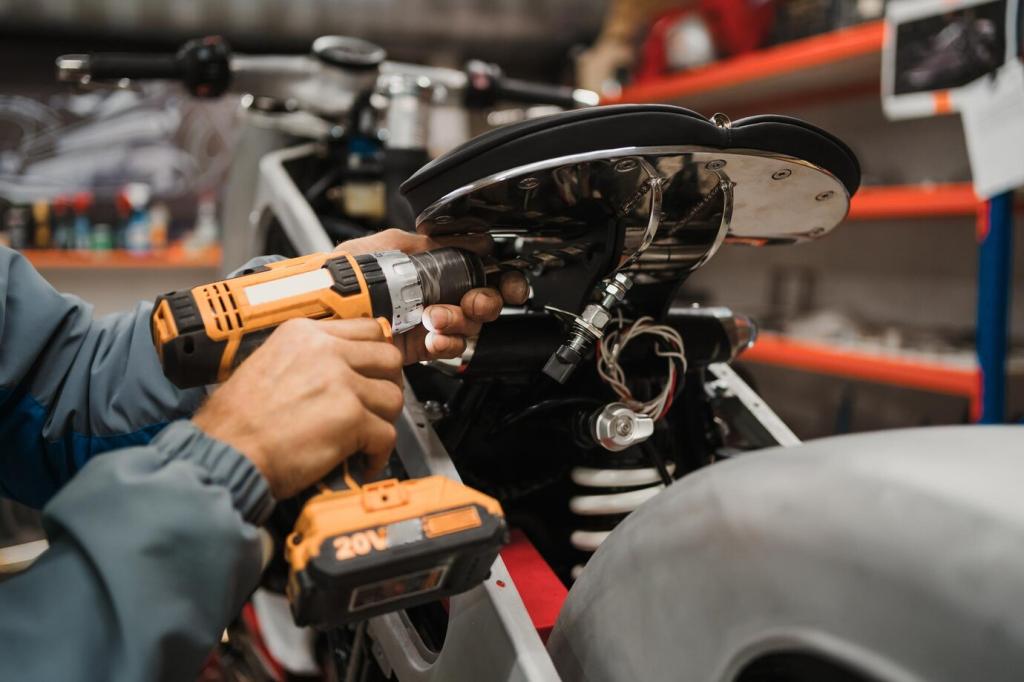
Installing the Upgrade
Carefully Removing Old Components
If your vehicle’s upgrade involves replacing an existing component, such as a factory stereo or backup camera, start by carefully removing it according to manufacturer guidelines. Take note of how everything is connected, taking pictures if necessary to aid with reassembly. Avoid forcing or prying at sensitive areas to prevent damaging dashboard trim, electrical connectors, or mounting brackets, which could complicate the installation of your new device.


Integrating the New Device or Feature
Align the replacement or new device according to the specific mounting points or slots intended for it. Secure the hardware with screws, mounts, or adhesive as instructed, and make the necessary electrical connections. Ensure wires or cables are routed safely, avoiding sharp edges and moving parts. Verify each connection matches both the vehicle’s and upgrade’s requirements, as improper wiring could impair functionality or cause lasting damage.